Main Objectives
To make a very nice proximal box, make sure to keep in mind these important features:
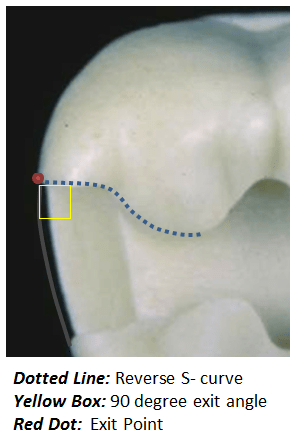
90 degree exit angle
No curving or sloping of the B & L wall within the box
No enamel lips. It can be removed with hand cutting instruments.
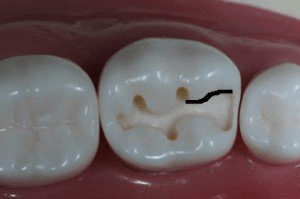
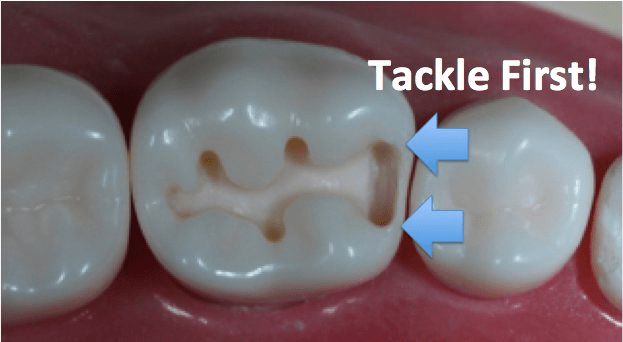
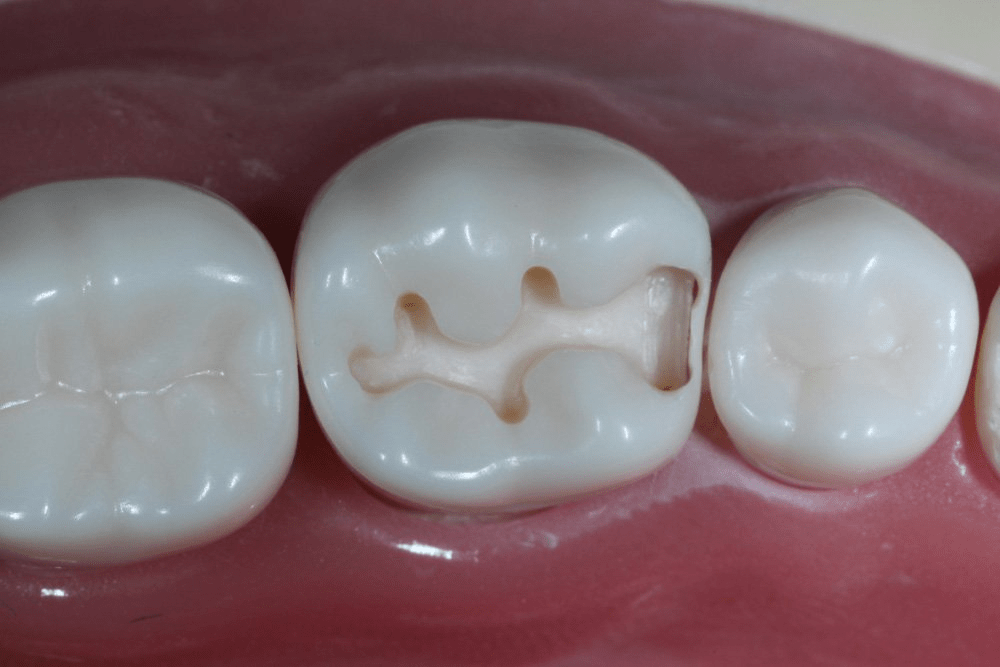
Reverse S curve on the buccal in which it loops around the MB triangular ridge. The lingual is relatively straight.
The gingival floor width is: (1) Molar: 1.2-1.5mm, (2) Premolar: 1-1.2mm
There is a bevel at the gingival floor and the axiopulpal line angle, we’ll use a margin trimmer for that.
Step by Step
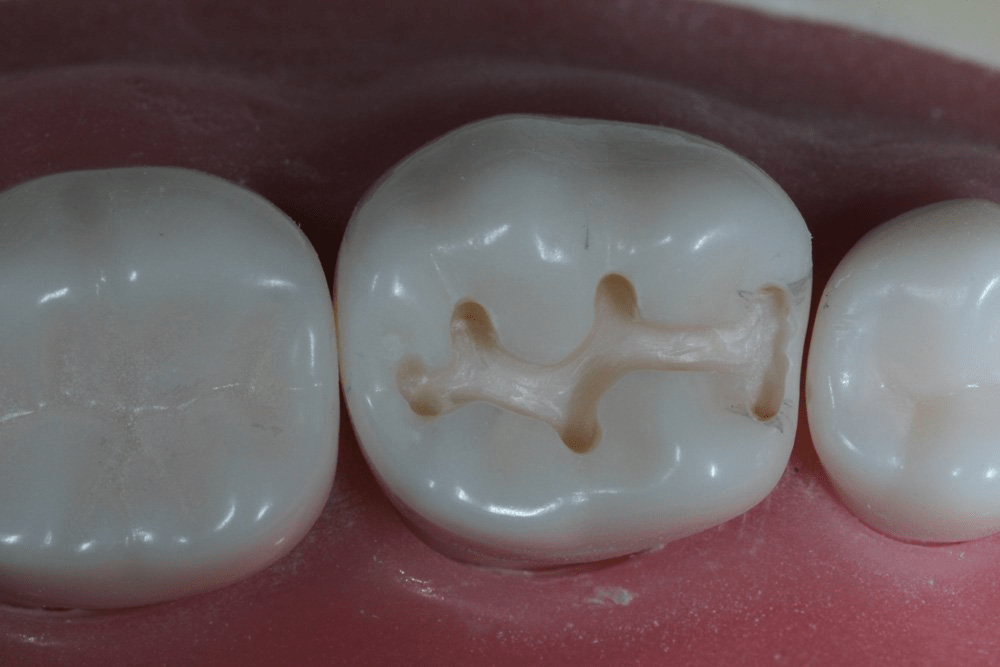
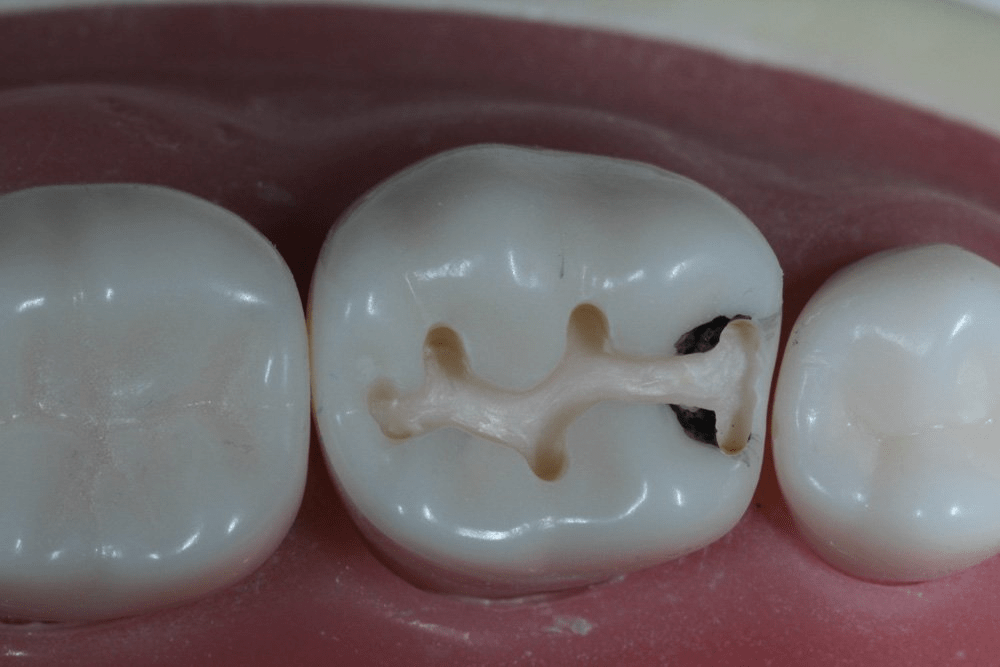
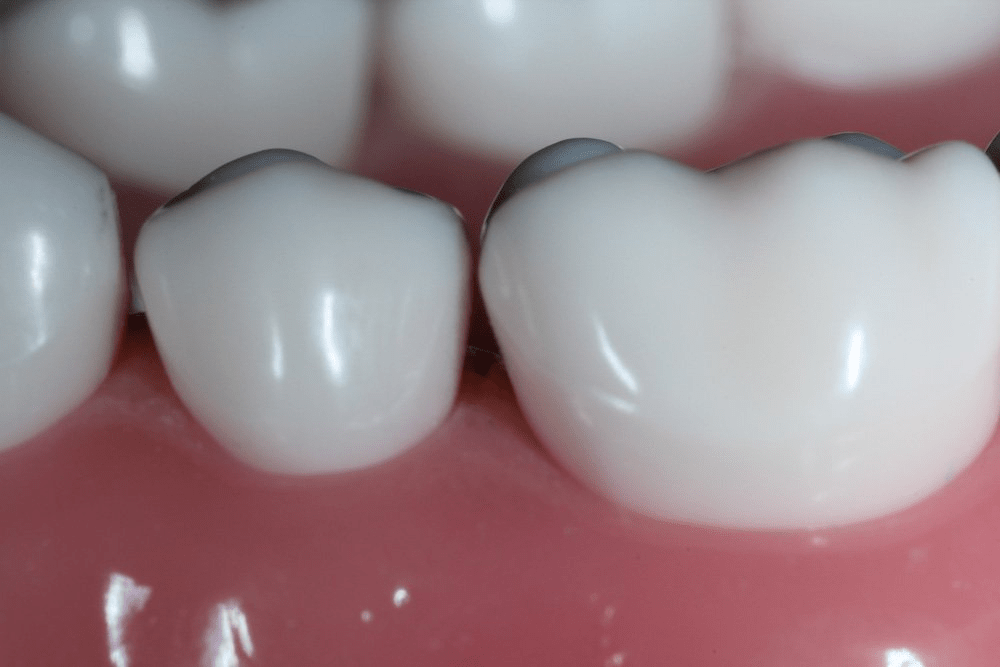
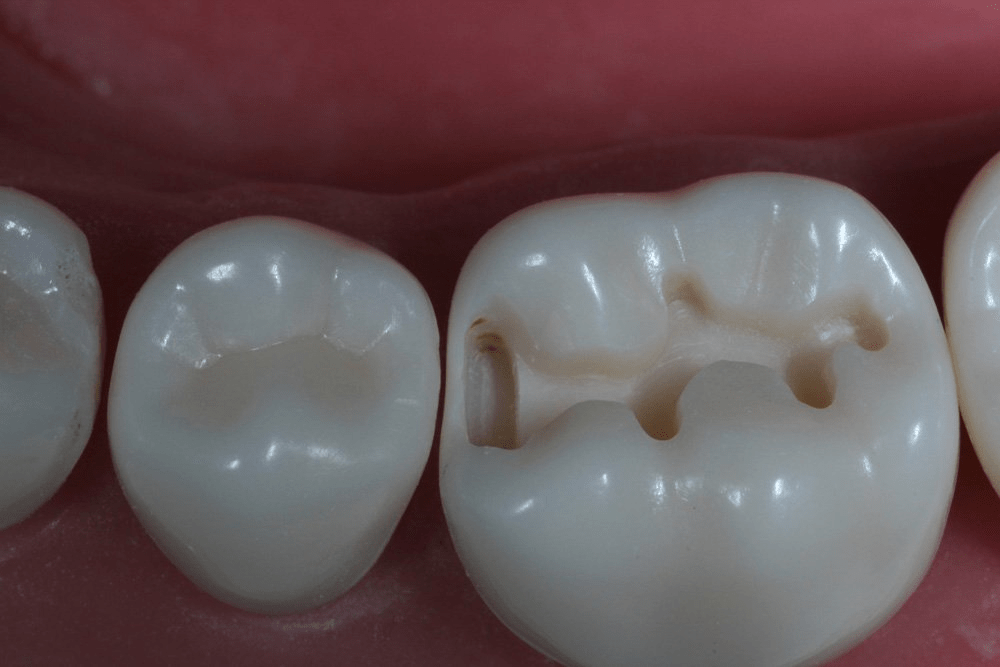
Before anything else, you need to visualize the location of the proximal box:
After visualizing the prospective location of the proximal box, grab your handpiece and let’s start making the proximal box:
Extend the mesial end of your preparation straight mesially
Extend the preparation bucco-lingually, leaving a shell of tooth structure for protection. (This shell can be rather thick. The gingival floor itself needs 1.2-1.5mm; this is a lot of space. I would’ve been fine even if I’d left more than I did here.)
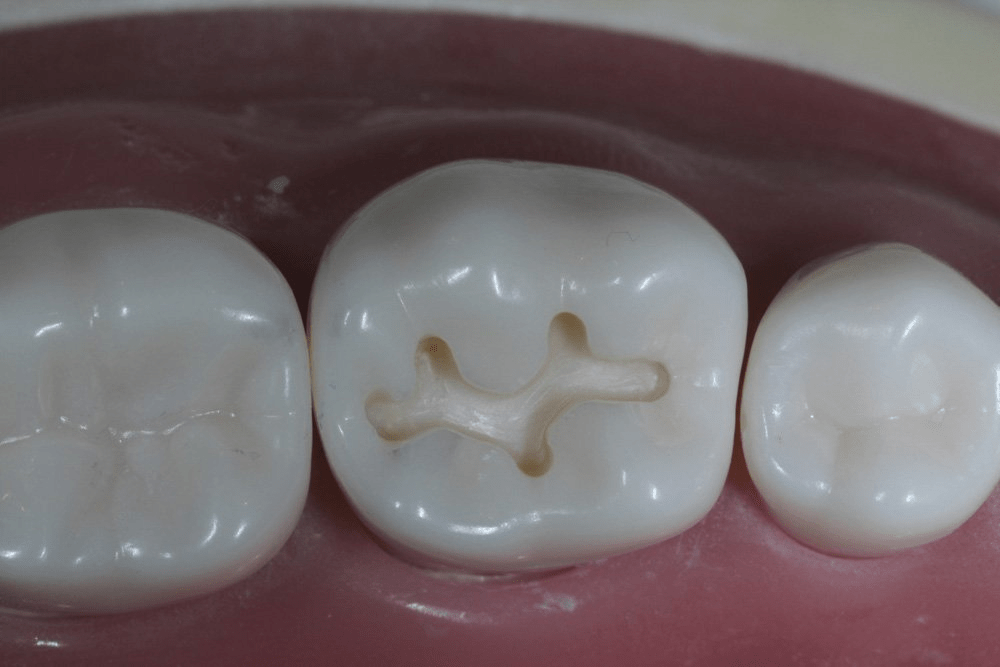
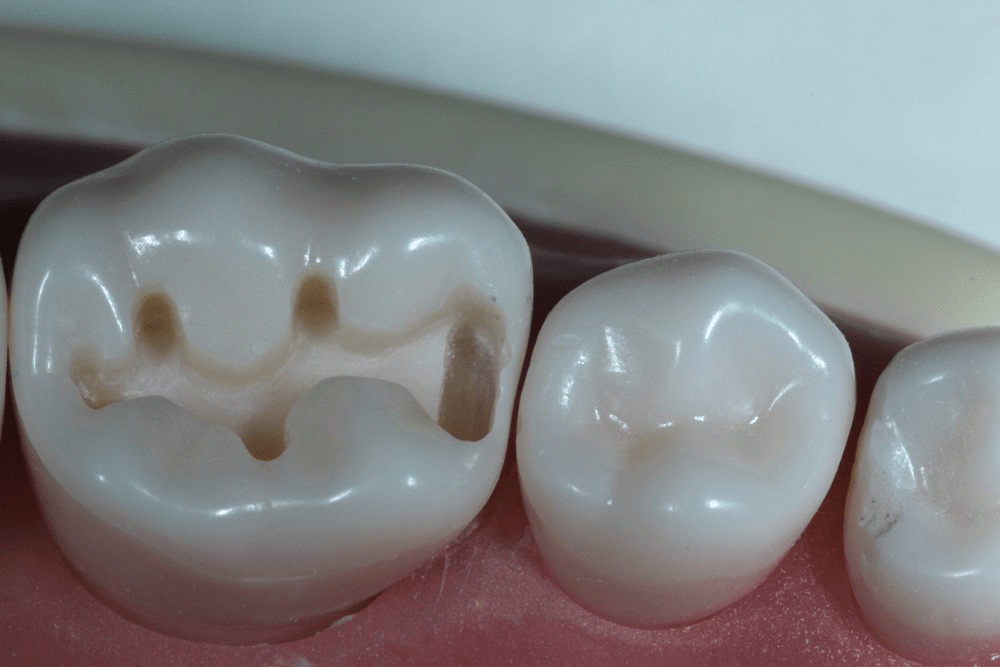
With a sharpie, mark the areas of the occlusal portion that will need to be reduced, then go for it. (The triangular ridges are conserved and everything is nice and rounded.)
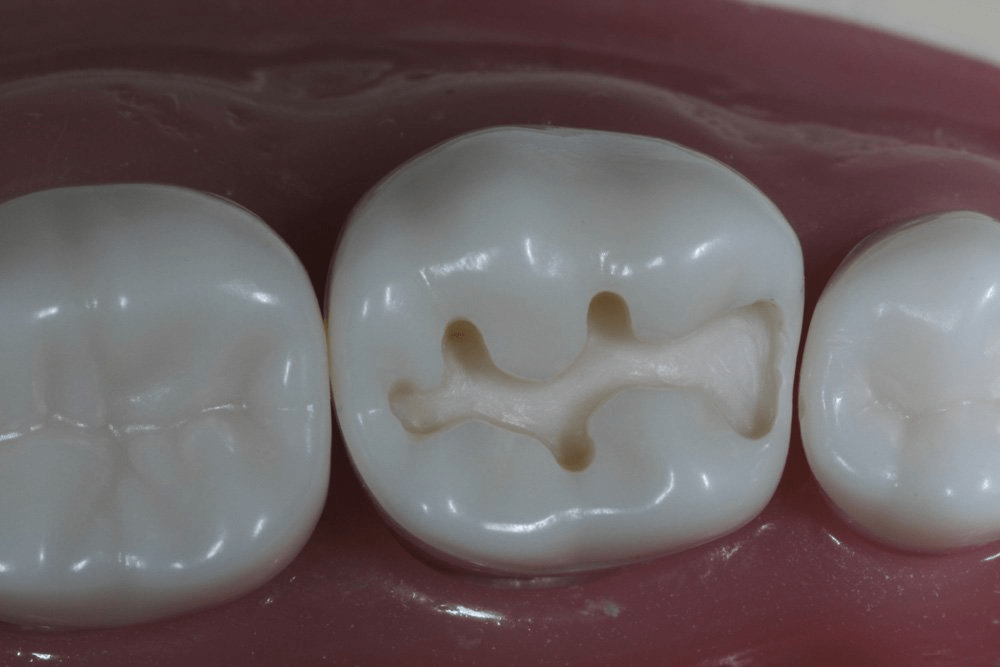
Double-check, make sure you have that reverse-s curve they love!
Check the depth for the ideal box. (If the occlusal part looks nice and finished, now it’s time to extend gingivally. Before starting, check with either your bur or probe to see how deep you need to go in order to get the perfect clearance.)
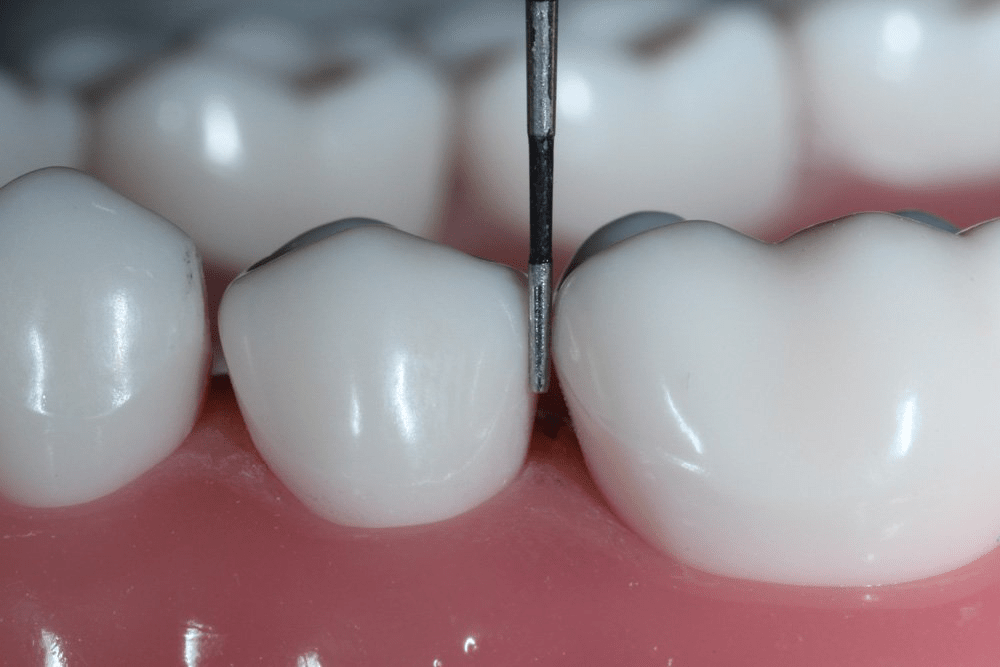
When you’re ready, with the use of a #330 bur, give that punch cut and verify the depth.
Now extend bucco-lingually.

In this preparation for this step I’m using #56. #330 was only used for the punch cut.
A common mistake is to extend short – go all the way until the buccal and lingual walls blend in with each other completely without a change in angulation or any steps.
Also plane any rough walls- the axial wall, gingival floor, buccal and lingual walls. Do as much as you can while you still have a shell.
Thin-out the mesial shell.
For this I used #245 because of it’s shape. Be very careful which direction pressure is being applied, you’re always at risk of widening the box and creating a flared exit angle, which we don’t want. Apply a super-steady finger rest and move your bur towards the mesial, but move it so little so that even if the wall flew away you wouldn’t nick the adjacent tooth. Strong finger rest is the key here, without that you’re bur will go straight to the mesial tooth then the resistance from the wall is lost.
These areas usually have thicker tooth structure left than the middle, which is why you want to thin it out with a bur before loosing the shell completely. Yes you can do it later with hand instruments too, but it comes out cleaner if this part is done correctly.
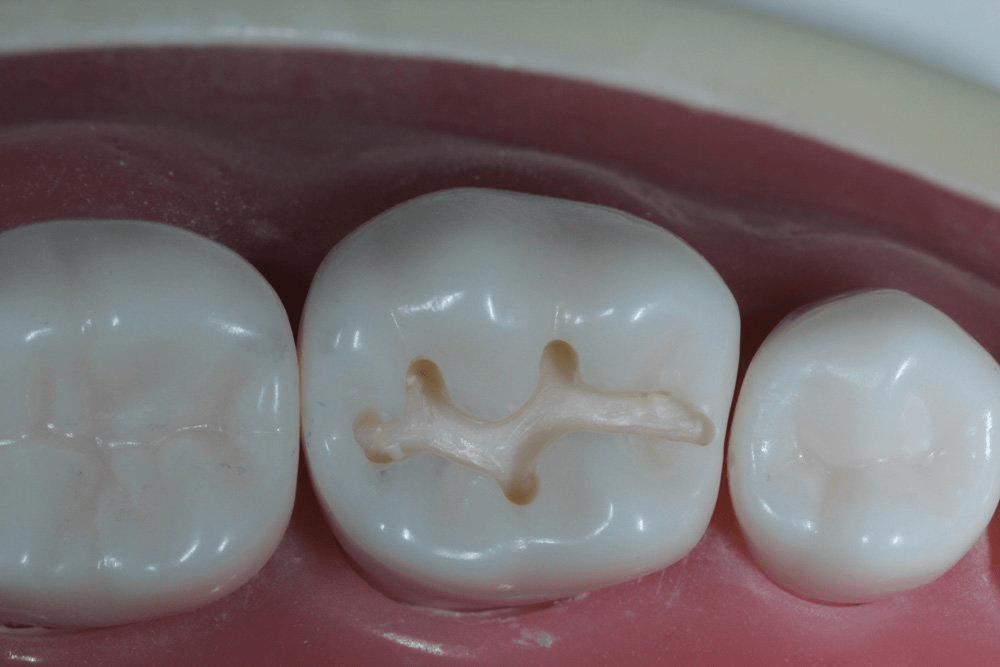
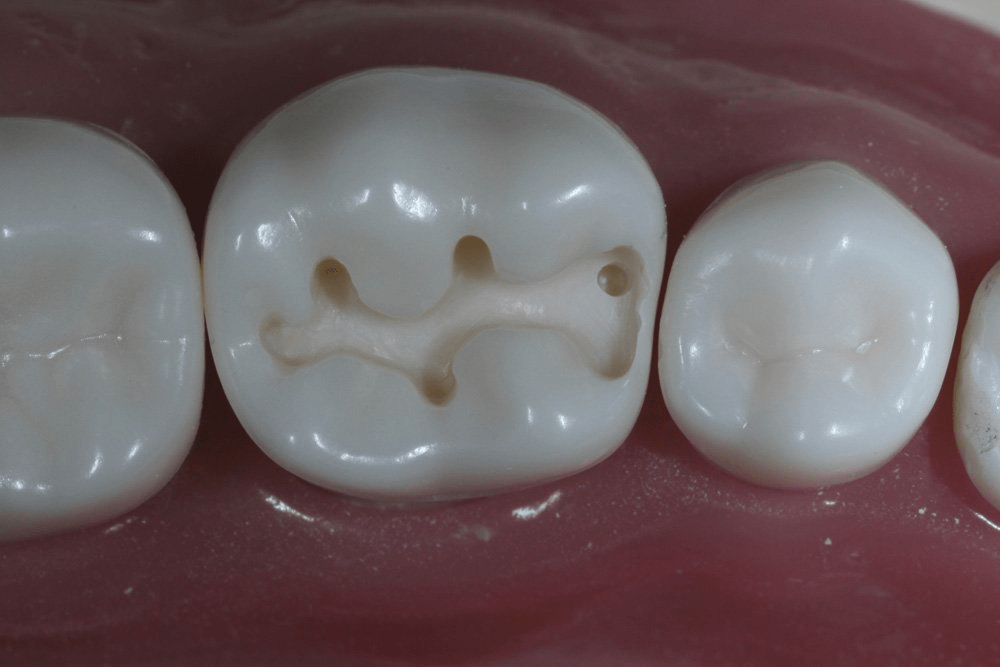
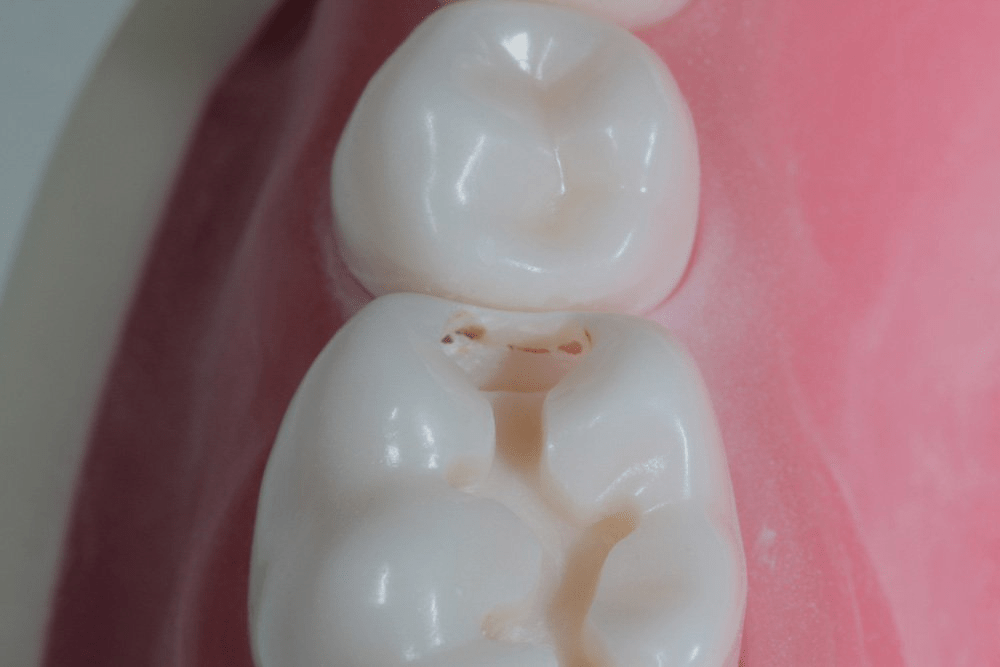
If you continue doing this step, holes will eventually be evident on the proximal.
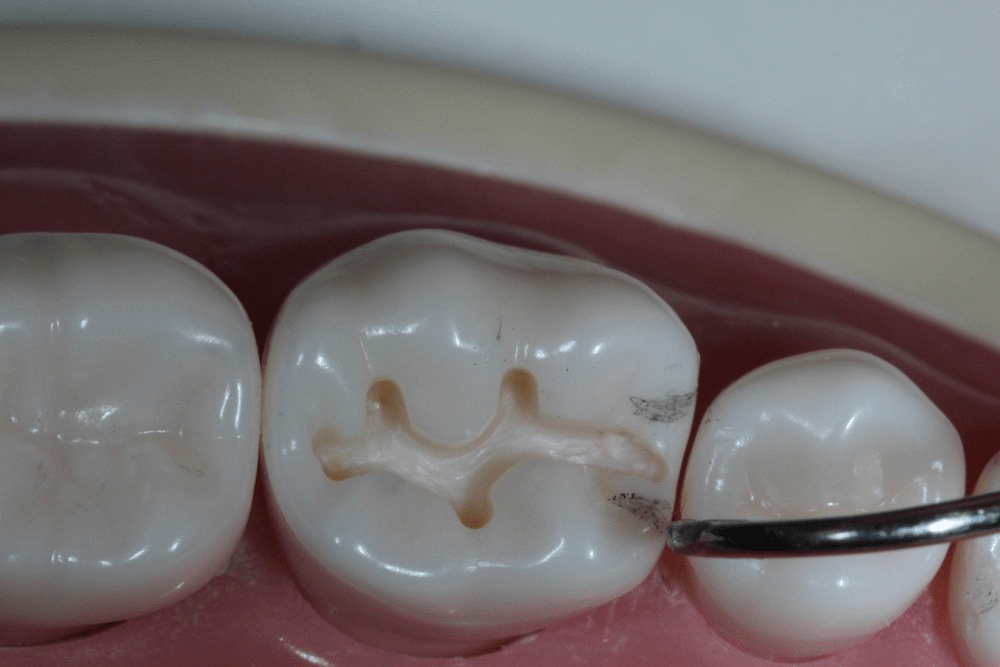
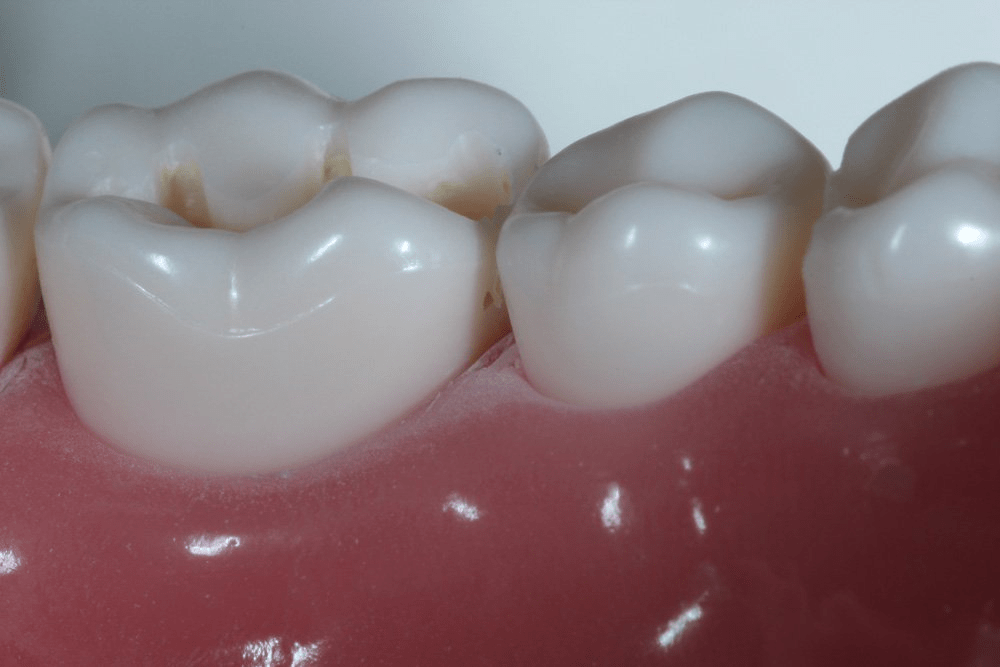
Thin-out the wall some more. If the enamel shell comes off, it is ok. Just make sure not to wiggle your bur to prevent nicking of the adjacent tooth. After this, though everything is kind of rough, do not use your bur but use hand instruments to refine and define the walls.
If you still have a shell, do a bit more thinning, only to the degree you feel comfortable. You don’t need to remove it with your handpiece if it’s still there, because it’s attached to the tooth with such little tooth structure, hand instruments work great here. This is where I stopped, the remainder will be done with hand instruments.
Correct Bur to Use
Please read the following for insights regarding using of 330, 245 or 56 burs for making the proximal box.
I’m constantly trying to find ways that will achieve the most consistent and predictable result. For this preparation, the punch-cut was actually done with a #330, and I liked it a lot.
#330 does do punch-cuts better than #245. It’s downward cutting abilities are greater – good chance of making a clean cut with minimal burning of the tooth.
Afterwards I went in with a #56, first widened the whole and then used it to extend bucco-lingually. I liked this too because of how flat the gingival floor was with minimal effort.
So experiment for yourself and see what works better for you. You may like the #245 better like I did for a long time.
Leave A Comment